Well what is a geological map?.
A geologic map portrays the distribution of rocks, deposits, or other geologic features in a specified area. Each consolidated rock type that can be distinguished by similar characteristics is categorized into a mappable unit, or formation. Unconsolidated deposits such as landslides and stream alluvium also are designated on our geologic maps. Unique colours, patterns, and labels are used to differentiate each unit on the map. Colours are chosen by the age of the rocks being described. For example, rocks from the Jurassic Period are coloured in shades of green, and Quaternary deposits are coloured shades of yellow. Labels designate the age and name of the formation or deposit. A geologic map is typically printed over a topographic base map.
Many different types of lines and symbols are found on geologic maps. The most prevalent are thin black lines that depict the contacts between two different mappable units. Line width and colour are used to differentiate other types of features such as faults and folds. Geologists collect structural information describing whether the rock layers are tilted or not. Most sedimentary and volcanic rocks were originally deposited horizontally. Therefore, the tilt (dip) of layered rock units may provide key information to understanding whether non-horizontal units were deformed by faulting or folding. This type of structural information also helps geologists build interpretive cross-sections that depict how the map units may look in the subsurface. Geologic maps provide a wealth of information to all who use them. They are important for geologic hazard detection and mitigation, mineral and groundwater resource evaluation, and provide enjoyment for the casual roadside geologist. Geologic maps help us understand the earth on which we walk, and give us a greater appreciation for the geology around us.
First of all you have to mark your area in Google Earth and save it as KMZ file by right clicking the area folder and then click save places as KMZ.
 |
| Location of study area. |
Then Mark your formations with polygon and save it as KMZ file by right clicking each formation.
 |
| Formations polygons being made. |
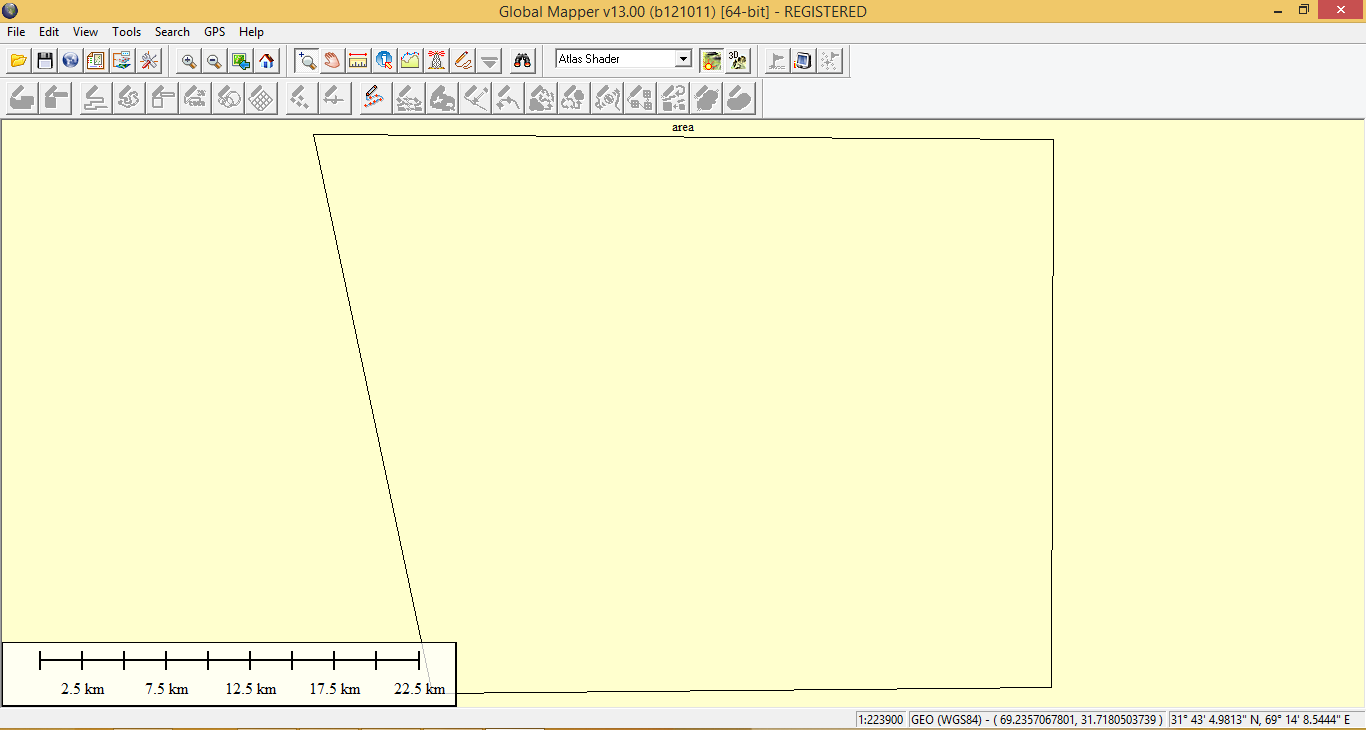 |
| Location area in global mapper. |
 |
| First polygon in global mapper. |
 |
| Second polygon in global mapper. |
 |
| Third polygon in global mapper. |
Now you can open it in Arc GIS as shape file for GIS already been created. Now it will look like this in GIS.
 |
| All data when loaded in Arc GIS. |
So now what you have to do when all being loaded?.
Simply complete your map, You can add the formations name which will self name at what you saved in the Google Earth. You can label by simply clicking each polygon by right click and label features. Now what else is missing?. This map is already being geo-referenced from the Google Earth moreover click on the insert and add legends, North arrow, Co-ordinates etc what ever is your need suit yourself. This is how you can make geological map using Arc GIS. You can also use Coral Draw for constructing map.